 |||
|||
 Finishing a 3D print
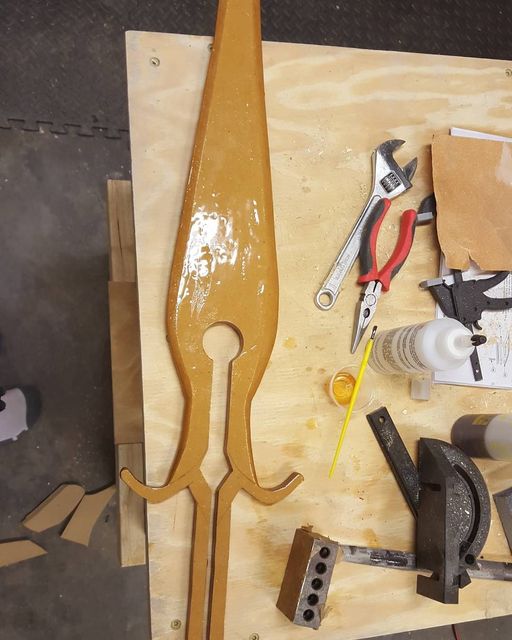
I thought it might be interesting to go over some of the steps I’ve taken recently to finish 3D prints for molding etc. I don’t have the highest resolution 3D printer but it works well but it takes a little more effort to get that print to look just right. As you can see in the first image (you might have to click the image to see it) the print has a slight stair step texture. This is how prints are made and with a lower resolution printer its a little more noticeable then say a .3 printer (Mines .5), This isn’t really a huge issue, it just requires a little more of what all prop makers already do and love so much, sanding!! But first, There are some ways to avoid all that sanding. You can smooth things out with bondo or XTC-3D from smooth-on. I have used both and found that the bondo, can be easier to take care of places where there are lots of details, this is because XTC tends to diminish the finer details. I first tried XTC on a Nuka Cola bottle but sadly the TXC totally covered the label so all you could see was part of the “N” and the “C” in cola. Kinda a drag after a 24 hr print but, PLA is cheep and you can print while sleeping so .. eh. What XTC does really well is smooth out large surfaces that are suppose to be smooth and I have used it to great effect for that use. Also even small surfaces that are relatively simple like the body of the amulet in the images was finished with XTC so this stuff can be really helpful, try it!
After a good coating of smoothing agent there is always the sanding , nothing is perfect and even the XTC will have spots where you accidentally pooled the material or left brush strokes. After sanding I like to hit things with a sandable, filler primer which will help level out any sanding marks and nicks. Follow that up with a little wet sanding and you’ll be ready to finish your 3D printed thingy or prep it for molding! I’m loving the 3D printing options and how it can recreate hard to sculpt shapes in a jiffy!
cosplay propmaking 3dprinting